I’m going to make a confession: I used to absolutely hate Pinterest marketing.
Don’t get more wrong, the traffic potential of Pinterest is legendary. It’s essentially a visual search engine, and a single viral pin can drive thousands of highly targeted visitors to your blog for months—or even years—after you post it.
But actually sitting down and creating those pins? It was my absolute worst bottleneck.
To keep the Pinterest algorithm happy, you need to pin fresh content consistently. In the past, my workflow looked like this: Open Canva. Choose a template. Paste in my blog headline. Swap out the background image. Export. Repeat this 10 to 15 times for every single blog post.
I was easily losing 4 to 5 hours a week just clicking around Canva, adjusting font sizes, and staring at blue loading bars. It was repetitive, tedious, and frankly, a waste of my time.
So, I decided to do what I always do: I automated it.
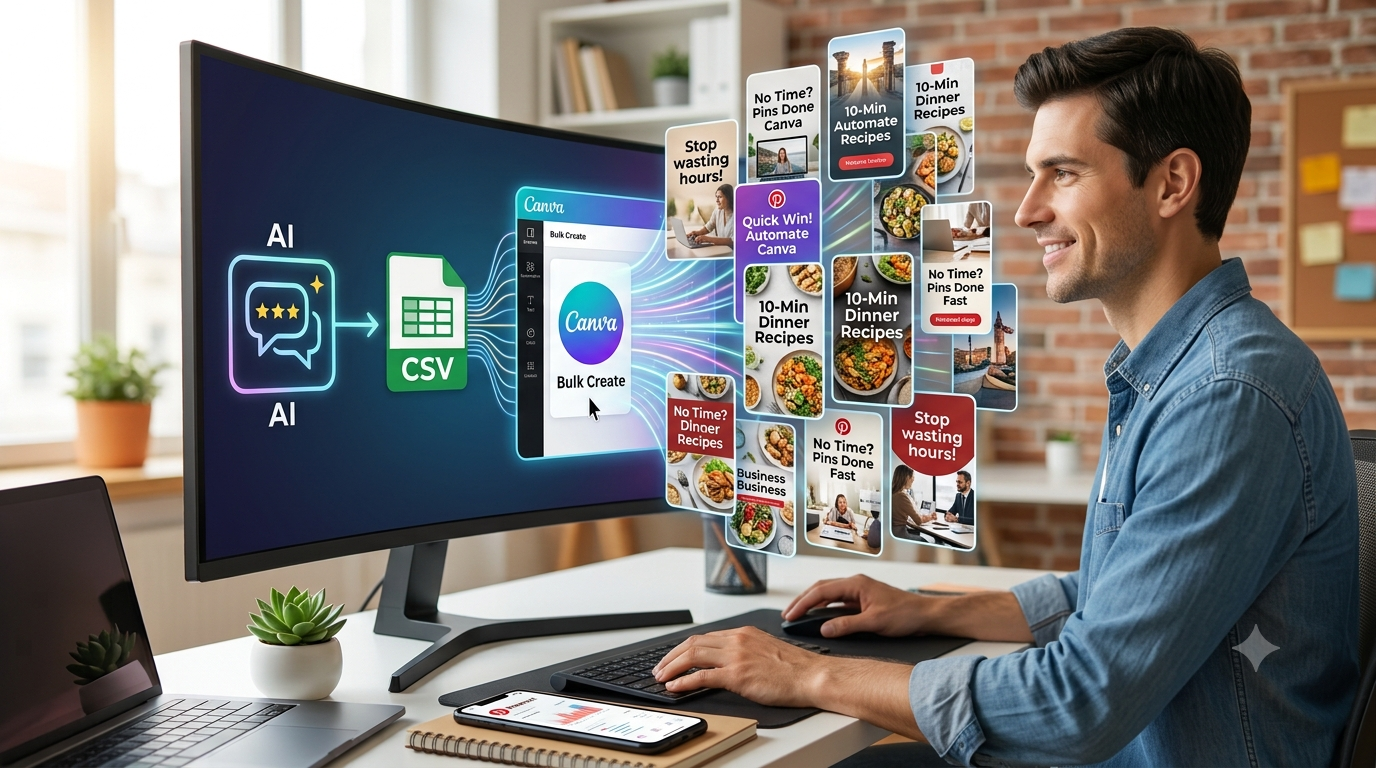
Today, I’m sharing my exact “Human-in-the-Loop” workflow to bulk-create 50 to 100 gorgeous, unique Pinterest pins in under 10 minutes. Here is exactly how I do it using a spreadsheet, Gemini (or ChatGPT), and Canva’s hidden power tool.
The Secret Weapon: Canva Bulk Create
Most people don’t realize that Canva has a built-in automation app called Bulk Create. When you pair Bulk Create with a simple Google Sheet and a smart AI prompt, you can feed a list of headlines into Canva and watch it generate dozens of formatted pins instantly.
But before we start, here is my golden rule for Pinterest automation: Pinterest hates duplicate content.
If you generate 50 pins that look identical, Pinterest will flag your account as a spam bot and tank your reach. Our goal is to automate the creation process while keeping our designs looking distinct, high-quality, and completely custom-built.
Step 1: Generate Scroll-Stopping Headlines with AI
To make 20 or 30 different pins for a single blog post, you need multiple text overlay variations. You can’t just repeat your blog post title over and over. You need different angles—some focused on curiosity, some on pain points, and some on quick wins.
I start by opening my AI writing partner (Gemini or ChatGPT) and using this exact prompt:
My Go-To Pinterest Prompt:
“I’m writing a blog post titled [Your Blog Post Title]. Generate 10 different high-converting, scroll-stopping text overlays for a vertical Pinterest Pin. Keep them under 6 words, focus on curiosity and pain points, and split them into two clear lines: ‘Line 1 (The Hook)’ and ‘Line 2 (The Subject)’.”
In seconds, the AI gives me a list of optimized headlines tailored specifically for my post.
Step 2: Set Up Your Automation Spreadsheet
Next, I open Google Sheets (or Canva Sheets) and create a simple table. I set up three columns:
- Line 1 (Hook): The punchy, attention-grabbing text (e.g., “No Time?” or “Stop Wasting Hours”).
- Line 2 (Subject): The core topic (e.g., “10-Min Dinner Recipes” or “Automate Canva Fast”).
- Visual Theme: A keyword to help me organize what background images to use.
I copy and paste my AI-generated headlines directly into the rows under these columns, then download the spreadsheet as a .CSV file.
Step 3: Design Your Master Templates in Canva
Now for the fun part. Inside Canva, I create a blank document set to the standard Pinterest dimensions: 1000 x 1500 pixels (a 2:3 aspect ratio).
Instead of designing just one layout, I design 3 to 5 distinct templates in the same project window.
- Template A: Focuses on a large, bold headline with a colored background block.
- Template B: Uses a full-photo background with a clean, minimalist white font overlay.
- Template C: Has an asymmetric split-screen (image on top, text on bottom).
By having multiple template styles, my bulk-generated pins will look completely different from one another, keeping my feed fresh and safe from the Pinterest spam filters.
Step 4: Map the Data Using Bulk Create
With my templates ready, I’m ready to run the automation. Here is the exact process:
- On the left-hand sidebar of Canva, I click on Apps and search for “Bulk Create”.
- I select Upload CSV and choose the spreadsheet I downloaded in Step 2.
- Now, I have to “connect” my spreadsheet data to my design elements. On Template A, I right-click on my first text element (the Hook) and select Connect Data > Line 1.
- I right-click on the second text element (the Subject) and select Connect Data > Line 2.
- I repeat this simple connection process for each of my templates in the project window.
Once everything is linked, a purple checkmark will appear next to my connected elements.
Step 5: Run the Automation and Polishing
Once my data fields are connected, I hit Continue on the Bulk Create panel. Canva will show me a list of all my spreadsheet rows. I make sure they are all checked and click Generate.
Within seconds, Canva opens a brand-new tab with dozens of finished pins, all fully formatted with my unique headlines!
The “Human-in-the-Loop” Polish (Do Not Skip This!)
This is where 99% of creators fail. They just download the raw automated export and post it. Because some headlines are longer than others, some of your text blocks might overlap or look slightly off-center. I always spend 2 to 3 minutes doing a quick sweep of the generated file:
- I manually adjust the font size on any headlines that are wrapping weirdly.
- I swap out the background images on a few slides so they aren’t all using the exact same photo.
- I ensure my website logo or URL is clean and readable at the bottom of each pin.
This final, rapid manual touch is what turns an obviously automated, robotic design into a stunning, professional graphic that real humans actually want to click.
How This Has Saved My Sanity
By adopting this Canva Bulk Create system, my Pinterest content production went from a painful half-day chore to a casual, under-10-minute workflow. I no longer feel guilty about neglecting my Pinterest boards because I can easily batch-create a month’s worth of pins in one cup of coffee.
It’s efficient, it’s scalable, and it keeps my site, Automation Genius AI, steadily pulling in organic search traffic while I sleep. Are you ready to stop manually building your social graphics? Try this workflow out this week and tell me how much time you saved. Let’s chat in the comments below!
Why Quality Automation Matters
Pinterest’s algorithm prioritizes fresh, high-quality content. Simply blasting the same image to dozens of boards will likely get your account flagged. Instead, use Canva templates to create unique variations of your pins and schedule them at optimal times.
Steps to Automate Safely
- Create Batch Designs: Use Canva’s “Bulk Create” feature to generate multiple pin designs from a single data set.
- Vary Your Metadata: Ensure each pin has a unique description and relevant keywords.
- Use Official Partners: Schedule your pins through Pinterest-approved apps or Canva’s built-in scheduler to stay within terms of service.